For any business or organization, having a robust email service is essential. This is especially true for nonprofits, which often need consistent communication between group members and donors. However, nonprofits must also make unique considerations when choosing an email service, such as cost-effectiveness, security, and features. Naturally, Google’s Gmail has become a popular choice for many nonprofits. Furthermore, nonprofit organizations get unique benefits when they create a Gmail account. But you may be wondering how to create a Gmail account for a nonprofit organization.
You came to the right place.
The world’s most popular email client is a fantastic free tool that allows excellent features like the unique dynamic inbox. Gmail should be at the very top of any nonprofit’s list when looking for an email client.

In this article, I’ll go over how to create a Gmail account as a nonprofit organization. I’ll cover the basics of setting up and verifying your nonprofit organization with Google, as well as registering your nonprofit’s domain and using Gmail, as well as the added features you can access through Google for Nonprofits (G4NP).
| SuiteGuides.com is reader supported. If you make a purchase after clicking a link, we may earn a commission at no additional cost to you. |
Google for Nonprofits: The Basics
Nonprofits looking to leverage the free version of Gmail should understand there are real limitations that can only be overcome by upgrading to a premium version. While Gmail is excellent as a free tool for personal users, businesses need the enterprise features included in Google Workspace, Google’s productivity bundles.
The good news is that nonprofits can get these premium services for free through Google for Nonprofits (G4NP). Nonprofit organizations can access their Gmail account’s full service as soon as they create an account through Google Workspace.

Google for Nonprofits is a cloud-based solution designed for nonprofit organizations. In addition to Gmail, Workspace includes full Google Drive capabilities, productivity apps, Google Ad Grants, and much more.
We all know Gmail as one of the best email apps available, but it is an even more powerful and valuable tool when used with Google Workspace.
Whether it’s the ability to create email addresses for your organization, manage account access, or have the protection of security tools, the premium version of Gmail that comes with Google Workspace is a standout tool.
Eligible nonprofits have no reason not to use the premium version of Google Workspace because it is completely free (sign up here, but there are a few steps you’ll need to take first – I’ll outline those below).

Creating a Google for Nonprofits Account
To create a Gmail account for a nonprofit organization, you’ll first need to create a Google for Nonprofits account to then create an organization-wide Gmail account. This is the most complicated step because Google has some specific requirements for eligibility.

Google requires all G4NP organizations must be registered nonprofit charities. For instance, if your organization is a school or hospital, it will not qualify for G4NP and will need another service, like Google Workspace for education.
After confirming your organization is eligible, you’ll sign up by following these steps:
How to Create a Gmail Account for a Nonprofit (step-by-step)
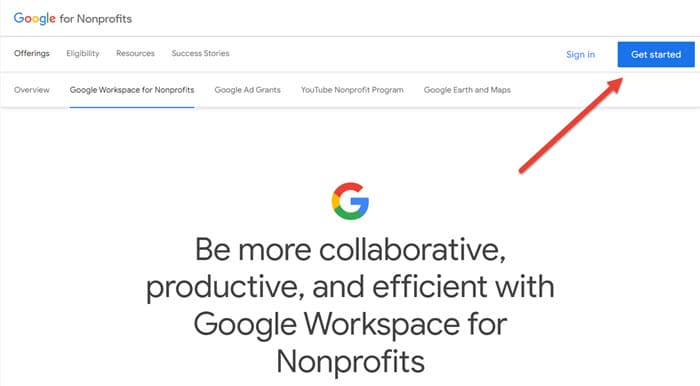
- Click the “Get started” button on the Google for Nonprofits page.
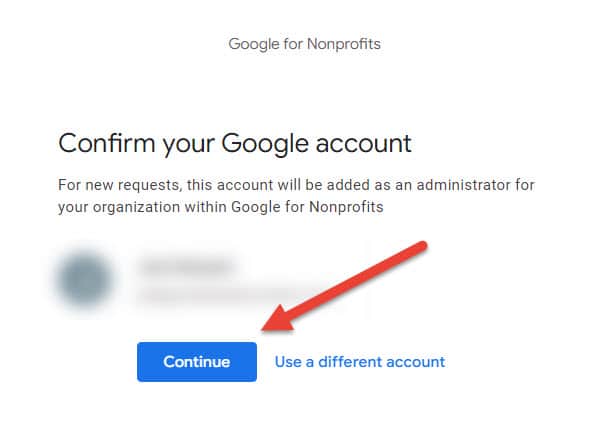
- Select the main account you want to have associated with Google for Nonprofit to set it as the administrator account.
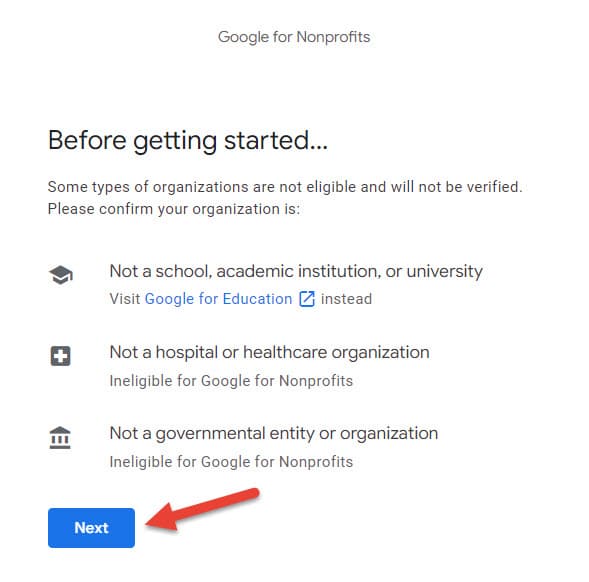
- Confirm your eligibility to apply by verifying your organizations is not a government, healthcare, or educational nonprofit.
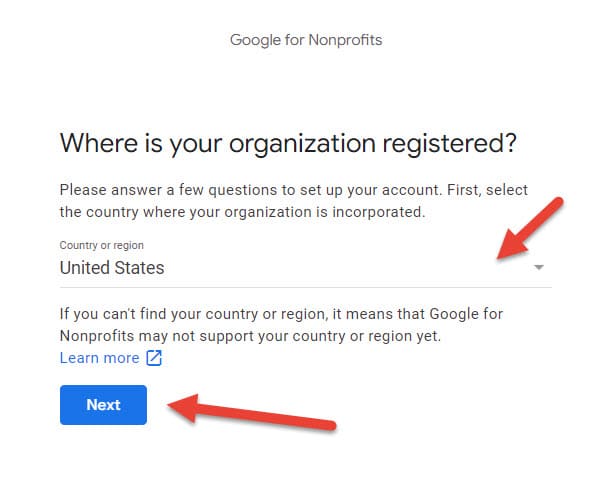
- Choose the country where your nonprofit is registered.
- You’ll need to take a short quiz to determine and confirm your eligibility for G4NP status. Click “Begin“, but make sure you have the following on hand:
- Your organization’s EIN (Nonprofit ID)
- Your organization’s physical address
- Your organization’s online contact information
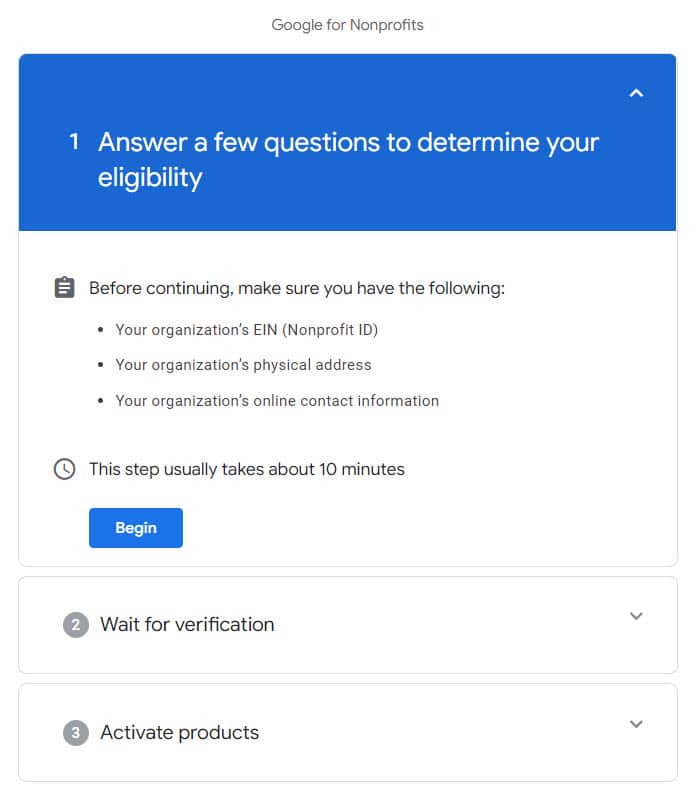
Getting a TechSoup Validation Token
Google requires all nonprofits have their status validated. If they didn’t, every organization would just get the tools for free by claiming to be a nonprofit.
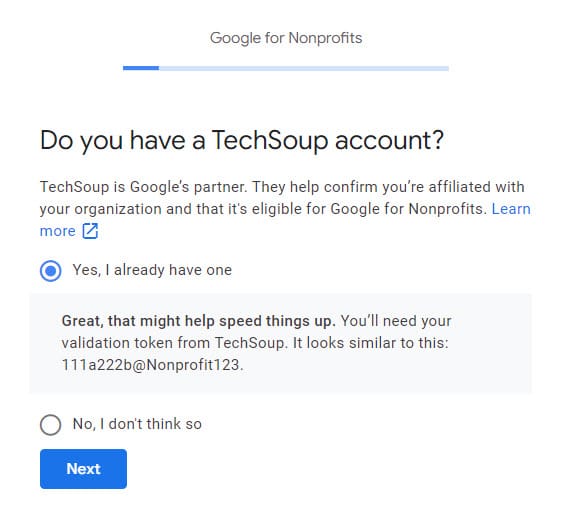
TechSoup, or one of Google’s regional partners, supplies tokens backing up your nonprofit status. This is required before completing the Google for Nonprofits registry.
If you have a TechSoup account, you might be able to finish the verification process faster:
But if you don’t, no sweat – Google will forward the answers you give to TechSoup so they can complete the verification process for you:
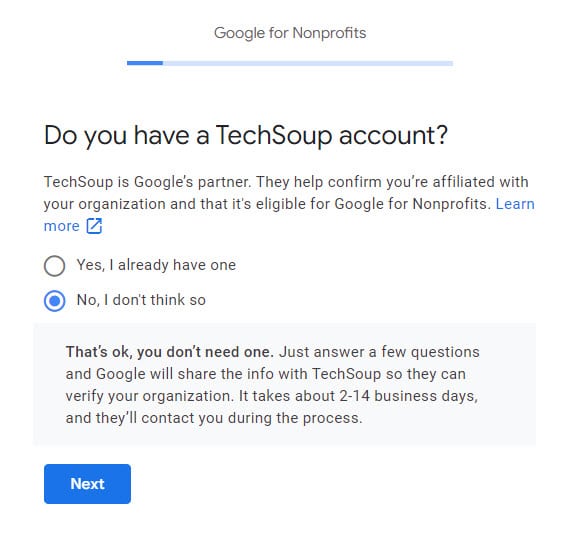
The questions that follow in the quiz are very straight-forward and intuitive, and if you have the three items they recommended (EIN, Address, Contact Information) you’ll move through the quiz quickly, with or without a TechSoup account.
During the quiz you’ll be asked for your organization’s email address and website:
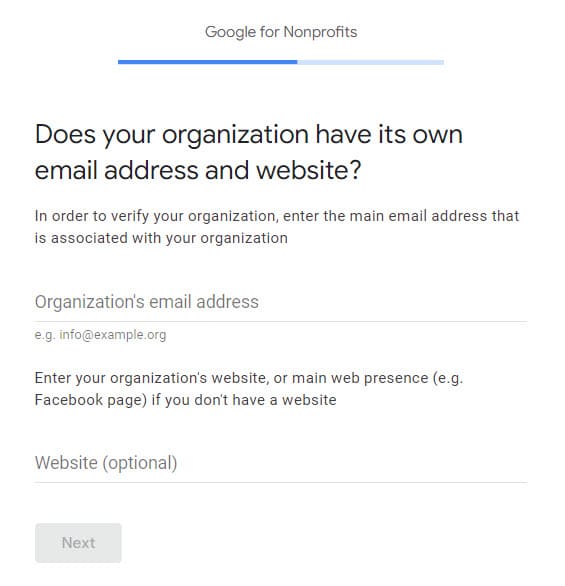
If you are brand new and don’t yet have a website or professional email address, that’s ok and you can continue just with whatever email you’re using (it could just be a [email protected] account). But if you’d like, this is a good time to register a new domain for your nonprofit (I usually recommend going for a “.org” with a nonprofit, but there are no hard-and-fast rules about that).
Where you register your domain is up to you. Personally, I use BlueHost for all of the domains I’ve registered and own, but NameCheap is a good inexpensive option as well.
TechSoup Registration
- When the Googe for Nonproft setup redirects you to TechSoup, choose the “New to TechSoup.org” option.
- Click “Sign up to your NGO” for validation.
- Fill in the Join TechSoup information.
- Confirm your email address.
TechSoup will now ask you to complete information about your nonprofit under the “Tell Us About Your Organization” page. Supply the organization status (tax information), your Employer Identification Number (EIN), the type of organization (charity, religious group, etc.), and subtype.
Once you have completed the form, click “Add This Organization” to start the verification process.

IMPORTANT – It is worth noting TechSoup is not an instant service. Instead, you must wait up to 10 business days for the company to verify your organization.
Sometimes, TechSoup will email to request additional information if they need it to verify your status – so be sure to use an email address someone checks regularly.
Using Your TechSoup Validation
Once TechSoup verifies your nonprofit, you need to obtain the validation token to use in Google for Nonprofit:
- Log in to TechSoup, copy the validation token, and paste it into the relevant field in G4NP.
- Google reviews the token and checks if your organization is already listed. Most new users can instead choose “My organization is not listed. Create a new account.”
- Enter your organization details, including contact information, websites, phone numbers.
- Agree to the GFNP terms and conditions.
Wait for Approval
Google will now review your application, which can take up to 3 days.
Once approved, you can now sign up for Google Workspace and use professional Gmail at your nonprofit free of charge.

For most individuals and organizations, Google Workspace comes with a free 14-day trial. You can cancel your subscription at any time during these 14 days and you will not be charged.
But remember, for qualifying nonprofit organizations, Google Workspace is either free, or available at a steep discount.
If your organization does not qualify for one reason or another, you can still get professional Gmail service, you’ll just have to pay for it. The good news is that Google Workspace is an amazing value, and comes with a 14 day free trial.

Sign up for Gmail (and Google Workspace)
I have a full article about how to sign up and use Gmail for business email service, but here are the basics:

- On the official Workspace website, click “Get Started” to sign up for your subscription plan. Google will ask for information such as business name, country, your name, email address, and the number of employees. This latter piece of information can help to determine which Workspace license you require.
- Choose whether you want to set up a Gmail account with the domain name you already have. (For example, something like [email protected])
- If you click “Yes, I have one I can use,” you can simply enter your existing domain name.
- If you need a new domain, choose “No I need one,” and input the domain name (if available) you would like to buy from Google. Workspace can register that domain for you through their in-built domain registrar service. Alternatively, you can purchase a new domain from a third-party registrar like Bluehost or Namecheap.
- Confirm the domain name you want to associate with your Workspace/Gmail account.
- Choose a password and username for Google Workspace. As always, ensure your password is suitably strong and something you don’t use anywhere else.
- Agree to Google’s terms and conditions.
- Choose the Google Workspace plan you want.
- Enter payment information. If your Google for Nonprofits account has already been approved, you may not be required to provide payment information. That’s because Google for Nonprofit provides Workspace for free. Even if you didn’t qualify, you won’t be charged until your 2-week free trial is over.

Setting Up Google Workspace
Now you can move on to setting up Workspace and using Google’s productivity platform.

- Google provides a bunch of tools for setting up Google Workspace, but for Gmail users, the “Use Manual Setup” option is the best way forward. Through the Manual Setup dialog, head to the “Go to Admin Console”.
- In the Admin Console, choose “Start Setup” and then “Verify Domain”.
Gmail is now ready to use with your custom domain name attached. Some of the benefits of Gmail for business include:
- Admin controls: For business users, controlling an email account is important. This is also true of nonprofits who may want to manage who has access to emails and what individuals can do with access.
- In-Depth File Sharing: While Google Drive is a cloud storage service, it also becomes a hugely powerful file-sharing system with Gmail and Google Workspace.
- Enhanced Security: Nonprofits often don’t have the resources to extend to multiple security options. With Workspace, Google ensures Gmail is complete with numerous unique security tools to keep your emails are protected.
- Group email addresses: With Gmail for business, you can create general-purpose email addresses. I have an article with professional email address ideas if you’re not sure where to start.
- Customer support: Google delivers best-in-class customer support. Nonprofits can access the company 24/7 across phone, email, and live chat.
Officially Enrolling in Google for Nonprofits
Now you know how to create a Gmail account for a nonprofit organization.

But importantly, to access Google Workspace and all its benefits, nonprofits must complete their enrollment with Google for Nonprofits. This is an essential step because it allows your organization to use everything offered in Workspace (including Gmail) for free:
- Enter your Google for Nonprofits account
- Navigate to the “Enrollments” page in the “Account” section
- Click “Enroll” below the Google Workspace for Nonprofits option

